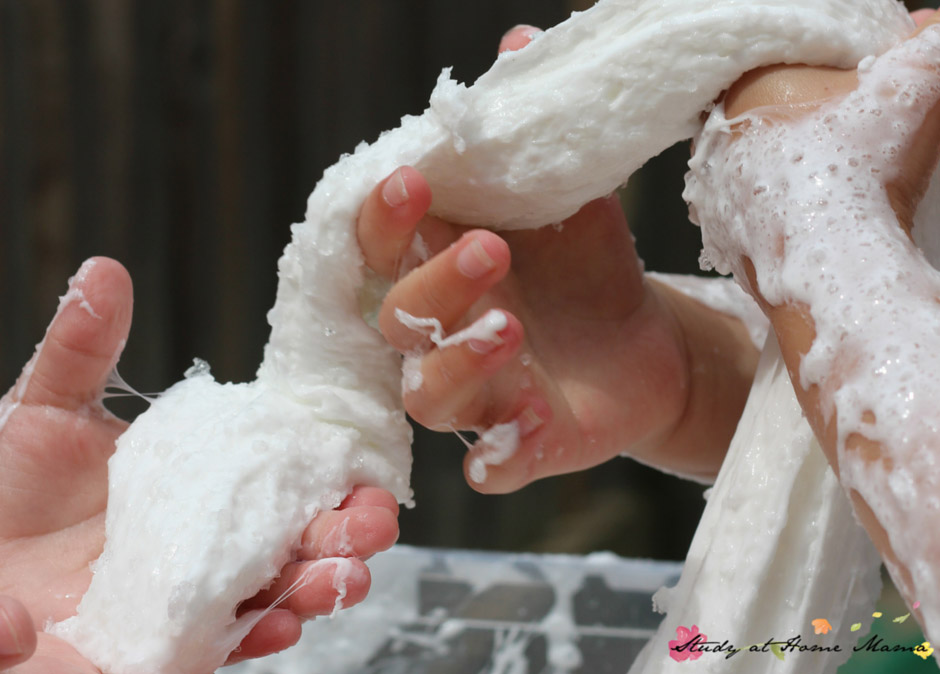
Ideally, you wouldn’t want an encounter with anything slimy. 🙂
But as soon as you have kids, you quickly realize that slime is good. It can be a great tool for sensory development, a monster toy for preschoolers, a fun afternoon activity and an easy science experiment.
There are many different ways to make slime at home. On this page, I feature some cool and amazing slime experiments that you can recreate at home or in school.
Some ingredients in these slime recipes can be easily found in your cupboard but some of them you may need to buy. Find one that you like best and go have a slimy afternoon!
Note: Some of the links on this page are affiliate links.
8000 Litres of Slime
Contents
I guess I should have started with the basic slime recipe.
But this video using 8000 liters of oobleck is way too amazing to not be the first one in this list.
So yes, you need 8000 liters of it. So it might not be easily recreated in your backyard.
But a lot of kids (and adults!) love this video which has over 51 million views on Youtube! What a fun STEM activity to do at school!
In this video, you’ll see people not only walking on it but cycling and playing football on the slime. Just keep moving and you won’t sink.
https://youtu.be/D-wxnID2q4A?t=20s
Magnetic Slime
This magnetic slime I’ve recently posted on our Facebook page. And I know that many of you are looking for instructions on how to do this experiment.
The magic ingredient in this particular recipe is iron filings. That’s what makes it magnetic [which means this is best done with older kids who no longer find pleasure with putting things in their mouth]
Diaper Slime
I promise you Diaper slime is not smelly at all.
This actually uses a material that you can find inside a diaper: sodium polyacrylate,
This is the material that sufficiently absorbs urine in diapers. It can absorb up to 30 times its own weight in urine.
Here are the things you need to make the basic diaper slime:
- a clean unused diaper
- clear bowl
- water
- scissors
- Using the scissors, cut the part of the diaper where the urine would normally go.
- There, you will see the sodium polyacrylate crystals.
- Turn the diaper over and shake the crystals out into the bowl.
- Now slowly add water into the container. Keep stirring until it begins to form into a slimy gooey texture. This is your slime.
You can, of course, stop here and kids would be already fascinated with the whole thing.
But why stop there? There are many other things that you can do to extend this experiment.
For example, try adding salt and find out what happens
Jennifer from Sugar Spice and Glitter added some glue and made it even more fun for the kids!
You can also add coloring or use tonic water to make it glow in the dark if you want.
Bubbling Slime
This is best for preschoolers and a good one to use for sensory tubs.
This recipe is from Jessica of Epic Fun For Kids and boy does it look very fun. The main ingredient you need is Xantham Gum and just the right combination of vinegar and baking powder.
According to Jessica, the bubbling could last for 24 hours!
Now I have to admit that I’m not very familiar with Xantham gum so I may have to browse the supermarket aisle one of these days and get myself one of these.
Edible Slime
And now we venture into edible slime.
If you’ve got a child who still loves to put things in her mouth (hey, that’s experimentation too!) then, you’ll be more comfortable making this edible slime recipe.
It’s made of safe ingredients that you won’t be too worried about in case it ends up in your child’s mouth.
I particularly like this list of edible recipes by Rachel Ford from Momma Owl’s Lab. She’s listed two different recipes that you can use. One uses Metamucil and other one uses condensed milk (now you didn’t think that would be a great ingredient, did you?).
On her web page, you will also find the added explanation
Basic Recipe For Slime Experiments
We can’t really end this article on Slime experiments without writing about the basic recipe. It’s the basic recipe for oobleck which kids have so much fun playing with. This is a fun STEM activity for preschoolers! Messy but fun. Beats many so-called educational toys.
This is the one that many of you will have the ingredients for because the only things that you need are corn starch and water.
If you have those two things at home, you’re good to go.
This is a recipe we use a lot at home and I have to say that most of the time, I just mix the ingredients together without worrying too much about the quantity.
I simply start by putting about 2-3 cups of corn starch in a bowl and then start by adding a cup of water. I then check if the mixture becomes the slimy texture that I want it to be.
If not, I either add in more starch if it’s too watery or more water if it still doesn’t feel like slime.
To make it more exciting, you can add other things to the mixture such as:
- glitter
- food coloring
- googly eyes
A Couple Of Useful Tips:
1. For those of you who can’t deal with the mess that slime makes, just put the slime inside a ziplock bag and make sure it’s shut tight. Children can then still squeeze it and play with it without getting the mess in any of your furniture or rugs.
2. The best way to clean slime is by dousing the area with vinegar. You can use it on clothes or even the rug.


