
The water pressure rocket toy by 4M is one of the fun educational toys you can buy. The kids loved it and we couldn’t believe how high the rocket went.
Whats Included In The 4M Water Pressure Rocket Toy
Contents
The box includes all the things you need to make your very own rocket. It comes with a few different pieces that you need to put together to make the rocket.
There’s also a little booklet of instructions on how to make the rocket yourself.
Here are the different pieces in the box.
These are the things inside the box:
- water bottle
- plastic tubing
- instructions
- rocket stand (in that plastic bag)
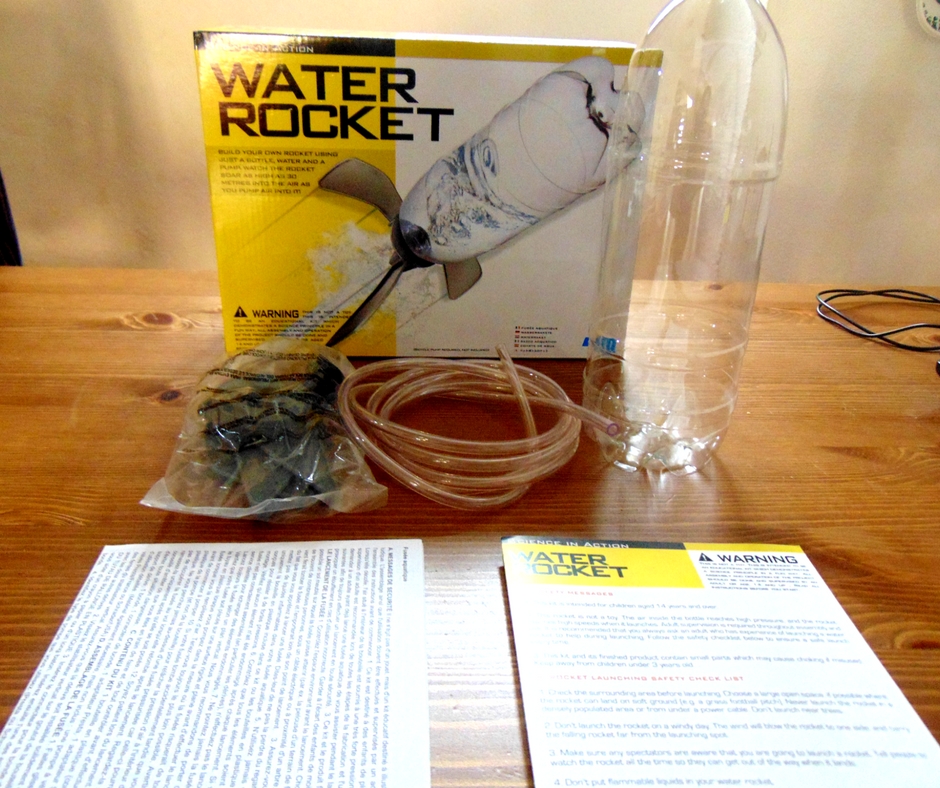
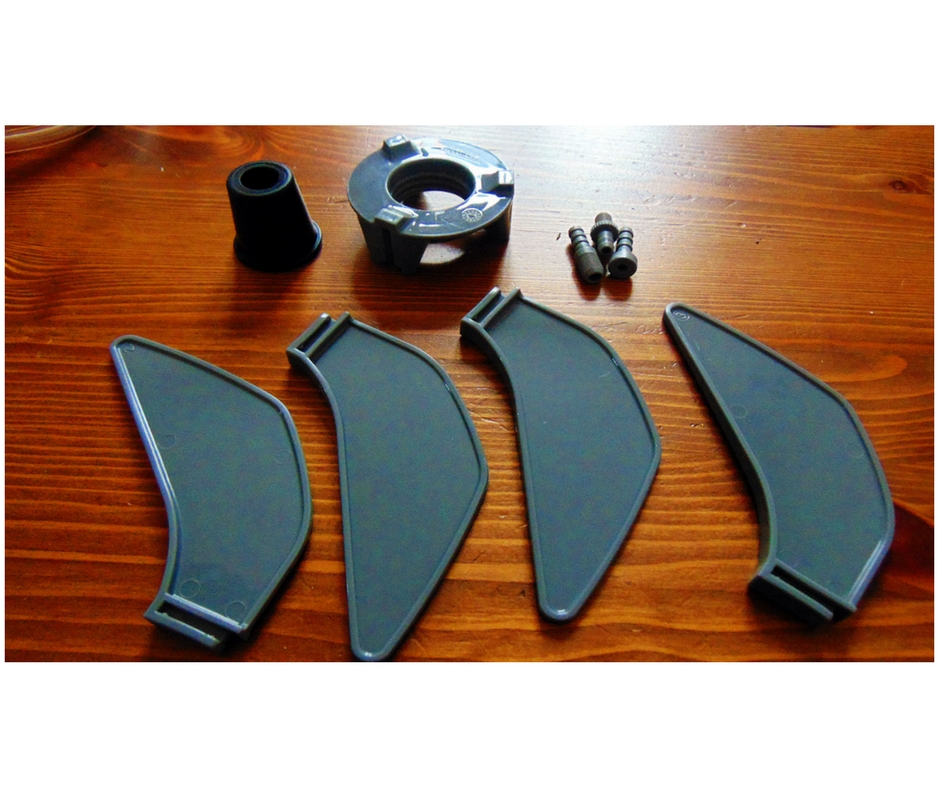
The rocket stand includes:
- 4 stands (1 extra)
- pump adaptors
- bung connector
- bung
- fin support
 The Easy Way To Put Your Water Rocket Together
- First, attach the 3 fins to the fin support.
- Next, attach the fin support to the water bottle. Twist it tight.
- Attach the bung connector to the bung. (We found this a little bit fiddly. We used a pencil to put the bung connector to put in firmly in place. Be gentle if you’re doing this because you don’t want to break anything!)
- When it’s nice and tight, attach the plastic tubing to the bung connector. This may need a little bit of pushing to make sure it’s properly attached. Again, exercise caution when you’re doing this.
- Then attach the bung to the fin support. At this time, it may be that the water rocket does not stand properly. Don’t worry. Once you fill it with water, it will.
- Finally, you rocket is ready.
Flying Your Water Rocket
Note: Flying this rocket requires a pump. Make sure you have the pump that fits the pump adaptors provided.
Find a wide open area where your rocket can fly. You ideally want a place where there are no trees in which the rocket can get stuck in. This rocket can go very high, so you need the space.
You’d also want a place where you can get some water (or you will have to carry gallons of water with you as well)
Fill the bottle with water.
We started by filling it halfway through.
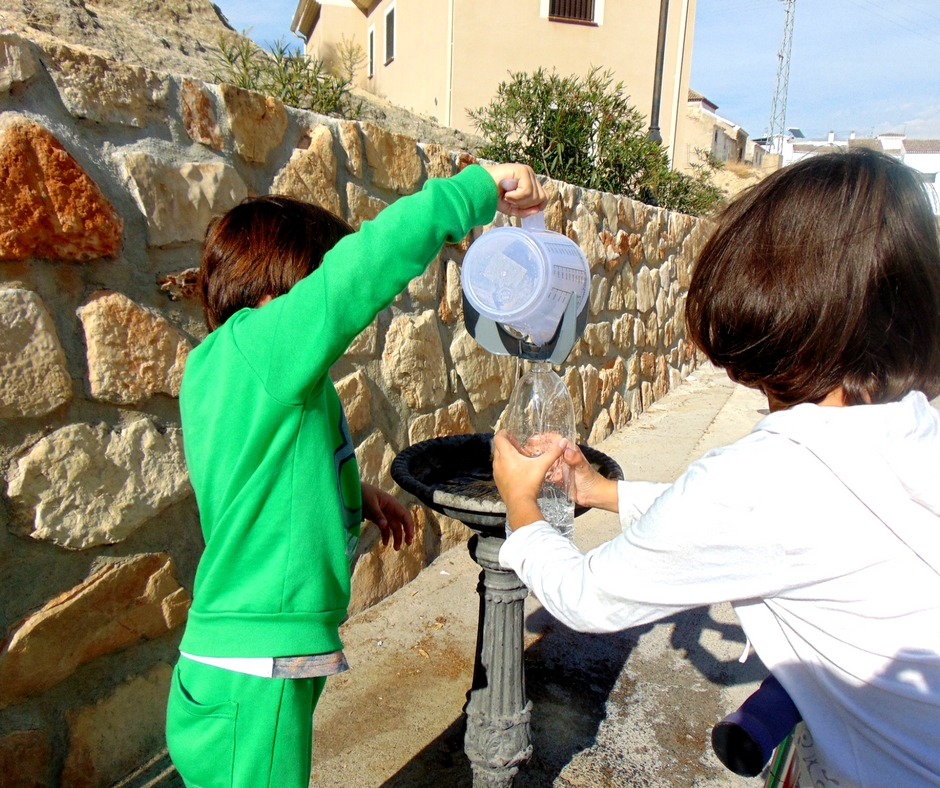
Stand the water bottle using the fins
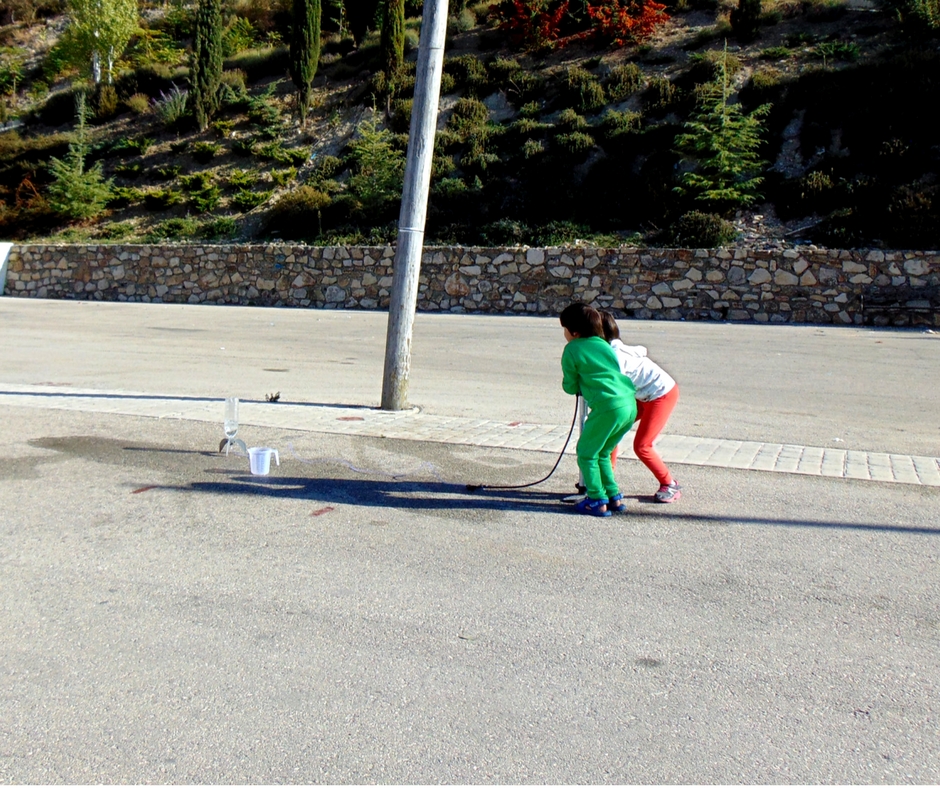
Make sure that the plastic pipe is attached tightly and is secure. Take the end of the plastic pipe as far away from the bottle as possible. You don’t want to get wet when the rocket shoots up to the sky.
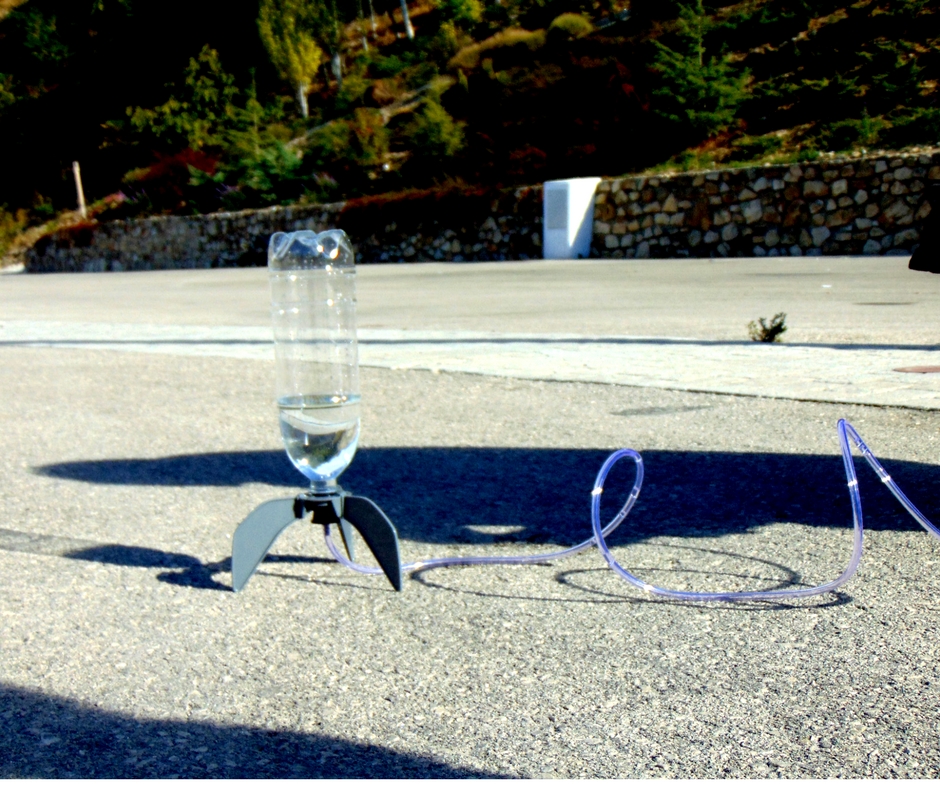
Pump it up
Now all you need to do is just to pump it up. Very little kids might need some help to do this especially when the pressure builds.
Watch your rocket go higher….and higher…and higher.
This water pressure rocket science kit goes very high. Really high. It’s actually really fun to see. And we couldn’t believe how high it went.
Remember to only point it upwards and not towards people!!! Check out the video above to see how high it went or watch in our Youtube channel (do subscribe for more reviews and kids activities like this!)
Have you tried this toy?
What did you think of it? Did you have as much fun as we did? Do tell us about it!
Looking for other Science toys to help teach STEM concepts in a fun and easy way? Click here for our favorite kits!